SENSORY HAUS

Room Design
This page will showcase our design process, from our focus to our finished product this page will walk you through our process step by step.
Focus of Room
We put together the materials of our room and designed the layout with three goals in mind.
Calm
Our room must be a place that succesfully facilitates calm.
Optional Interaction
A range of objects and activities will be provided that can help stimulate the students.
Comfort
Environment must be comforting overall, special attention was given to seating, bedding and blankets to ensure comfot.

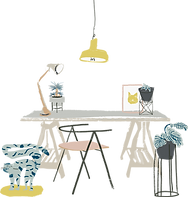
Materials and Layout


We chose our products based on research and aimed to structure our room for a comfortable experience.
Key Materials
01
Lighting
At the heart of every sensory room are calming sensory lights. Lighting can evoke the senses and calm the body and alsohelp to create a stimulating environment.
03
Video/Sound
We plan on using a tv to play calming music and sensory videos. This will add to our environment and the mood, also helping our lighting situation as we likely wont be able to acquire LED lights.
02
Comfort
It's important our room is comfortabe as possible and so we plan to have many comfortable soft objects and weighted blankets.
04
Miscelaneous Objects
We plan on bringing in fidget toys, activites such as reading, knitting and colouring and anything else we can find that the students can choose to interact with or ignore.
Materials were grouped like this to facilitate easier management of items. These four categorisations encompased everything we needed.
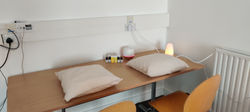
Room Allocated
Room C013 - Carriglea Building
This was the room booked for us by one of our lecturers. It was very spacious and luckily had an interative screen. As you can see though, there is def a lot of work to do before it is ready.
Layout Considerations
After we recieved cofirmation of the room, we discussed potential layouts. I drew a sketch of what we agreed would be the best way to use the space.


Sketch one is our first mockup of our room and sketch two is very close to our final design.
Our Room Design
Our room design went through many iterations. We had to overcome hurdles such as cost, praticality, ethics and limitations such as not being able to freely choose our date and time for the demo.

Blankets &
Soft Toys
 |  |  |
|---|
Titles were chosen to provide a wide variety of escapism. From Sci-fi to Fantasy, to Pop Psychology and thrillers. There should be something for everyones taste.
READING SELECTION
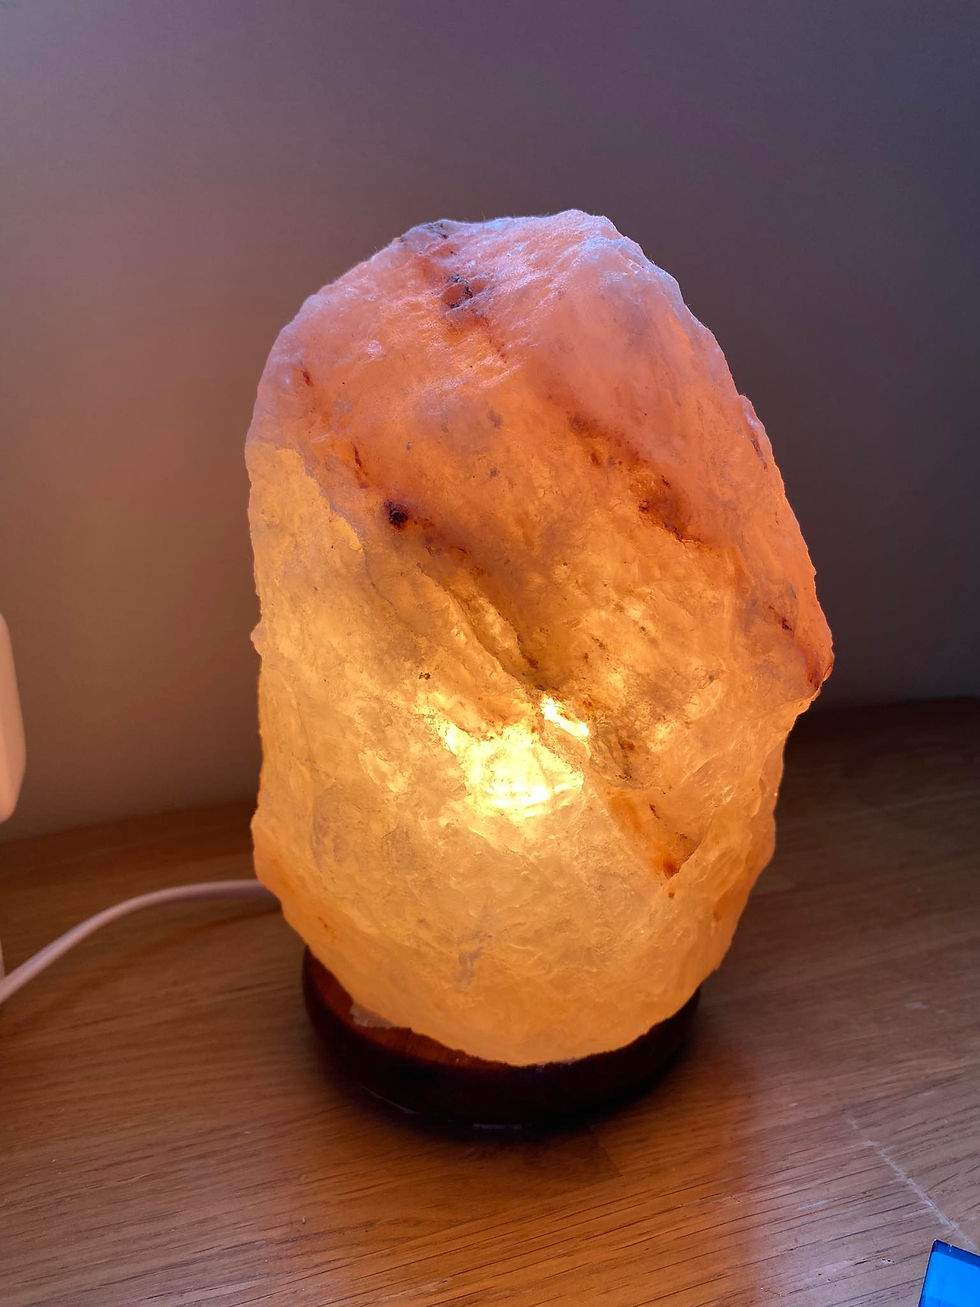
Lighting
Lighting was difficult as we did not have overhead neon LED lights at our disposal and wanted to avoid imposing a greater cost on ourselves. We chose to use warm lamp lighting instead as we all had access to salt lamps.


Comfort
-
Beanbag Chairs
-
Cushions
-
Pillows
-
Blankets
-
Weighted Blankets
-
Couch
-
Soft Toys
 |  |
|---|---|
 |  |
 |
Posters Created


We created posters to advertise our room and posters for display in our Sensory Haus. We experimented with different designs using canva and came up with the posters on display here.


Demonstration Day


Our demonstration day came and went in a blink of an eye. We all felt it was very succesful with great feedback from our participants and an better than expcted turnout. See pictures of our room (and snack table) on the right and click below to see what our participants said!
Changes from Sketches
-
Addition of "Scent Space" added.
-
Snack table moved into room.
-
Addition of a table in the middle of the room.
-
Sheets did not block out light as much as hoped.
-
Colouring books were not present.
-
Posters added around room.
Thankfully our sketches were not too out of this world to follow. Our main issue was lighting and noise levels. We feel the brighter lighting may have affected the perception of the space, influencing volume of talking.
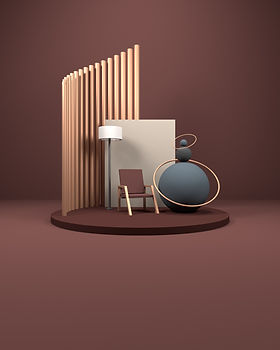
Other Sensory Spaces
This section gives a brief description of other sensory spaces developed for Irish organistaions. These spaces inspired our demo design as we aimed to incorporate elements from each to give our best impression of what an actual sensory space would be like.


